Tuesday, 31 January 2012
Photoscape - Slide Show Tutorial
procedure :- 1 ( No effect-Default)
open photoscape with animated gif
add 3-4 photos
change time- 0.16
 Then Save it on your computer
>> slide show Procedure-2 (Slide to the right )
open photoscape with animated gif
add 3-4 photos
change time- 0.10
change effect - slide to the right
then, save it

open photoscape with animated gif
add 3-4 photos
change time- 0.16
open photoscape with animated gif
add 3-4 photos
change time- 0.10
change effect - slide to the right
then, save it
Photoscape - Vampire Effect Tutorial
Before

After

PIERCINGS :
http://www.4shared.com/file/122141377/43270d3a/_Piercings__PhotoScape_Edies.html
MARKS :
http://www.4shared.com/get/220038499/953576e5/Feridas__PhotoScape_Edies.html
[[Download The Used Materials from Above Link]]
PROCEDURE:
Filter > Noise Reduction > Medium
Backlight>100 %
Bright.Color> Color Enhance
Then, Just adjust those materials accordingly
Photoscape - Hair Colour Tutorial

Procedure:-
1. Oρєη ρι¢тυяє.
2. Gσ тσ σвנє¢т» ѕєℓє¢т 'мσ∂є ℓιηє'.
3. Cнσσѕє тнє ¢σℓσя ___ ωαηтє∂ тσ ραιηт тнє нαιя
4. Pυℓℓ тнє αяяσω σƒ ωнσℓє σρα¢ιтy ƒσя ℓєƒт ѕι∂є.
5. ζєανє тнє тнι¢кηєѕѕ αвσνє 10.
6. Iη¢яєαѕє тнє zσσм ωєℓℓ
7. Pαιηт тнє нαιя ωιтнσυт ℓσσѕєηιηg тнє мσυѕє υηтιℓ єη∂ιηg
8. Aƒтєя ∂σιηg, ¢ℓι¢к тнє 'ρнσтσ+σвנє¢тѕ' вαя
9. N ¢σмвιηє υя ρнσтσ ωιтн σвנє¢тѕ.. σк !

Then, After Procedure:
1. вℓσσм » ℓσω
2. Ŧιℓℓтєя» Ŧιℓм єƒƒє¢т
3. νєℓνια»нιgн
4. ρяσνια»нιgн
5. ¢σηтяαѕт ιмρяσνємєηт» мє∂ιυм
6. вяιgнт» ℓσω
7. Ŧιηαℓℓy ѕανє __..!
2. Ŧιℓℓтєя» Ŧιℓм єƒƒє¢т
3. νєℓνια»нιgн
4. ρяσνια»нιgн
5. ¢σηтяαѕт ιмρяσνємєηт» мє∂ιυм
6. вяιgнт» ℓσω
7. Ŧιηαℓℓy ѕανє __..!
Photoscape - Techno World Tutorial
Before

After

TEXTURE REQUIRED :

Procedure:-
select ur pic in photoscape editor
Home> grayscale (which is below home )
Go to object > click on mountain logo> photo> downloaded Texture > Opacity 98>
Resize into pix size>
Home> grayscale (which is below home )
Go to object > click on mountain logo> photo> downloaded Texture > Opacity 98>
Resize into pix size>

Go to Bright Color
Bright,color> Darken> Middle
Bright,color> deepen > middle
Filter > Smart Blur> 4.4
- ⋆∫you can try filter> film effect, ,
can try bright,color> color curve, luminance curve, saturation curves, - ⋆∫ depending upon pix
try with golden colors pix..
Bright,color> deepen > middle
Filter > Smart Blur> 4.4
- ⋆∫you can try filter> film effect, ,
can try bright,color> color curve, luminance curve, saturation curves, - ⋆∫ depending upon pix
try with golden colors pix..
E.g:- http://www.creamylife.com/wp-content/uploads/2009/12/Diane-Kruger.jpg
Photoscape - illusion Tutorial
Before

After

Procedure :-
backlight > (+/-50 Default)
bloom> low
sharpen> 2
Bright.Color>saturation curve>pull d curve to level as shown in this picture

filter> film effect> velvia middle
filter> distorts> illusion> 1
IMAGE READY !
Photoshop Tutorial - Shadowed Text
Step 1 : Take a image of your choice
Step 2 : Add a text of your choice to your image

Step 3 : Right click on the text layer , and select Duplicate Layer .

Step 4 : You will see a new layer (copy of background layer) , Select that layer and move your text with the help of Move tool (V) .


Step 7 : Your image should like this after rotating .

Step 8 : Now press 2 ,


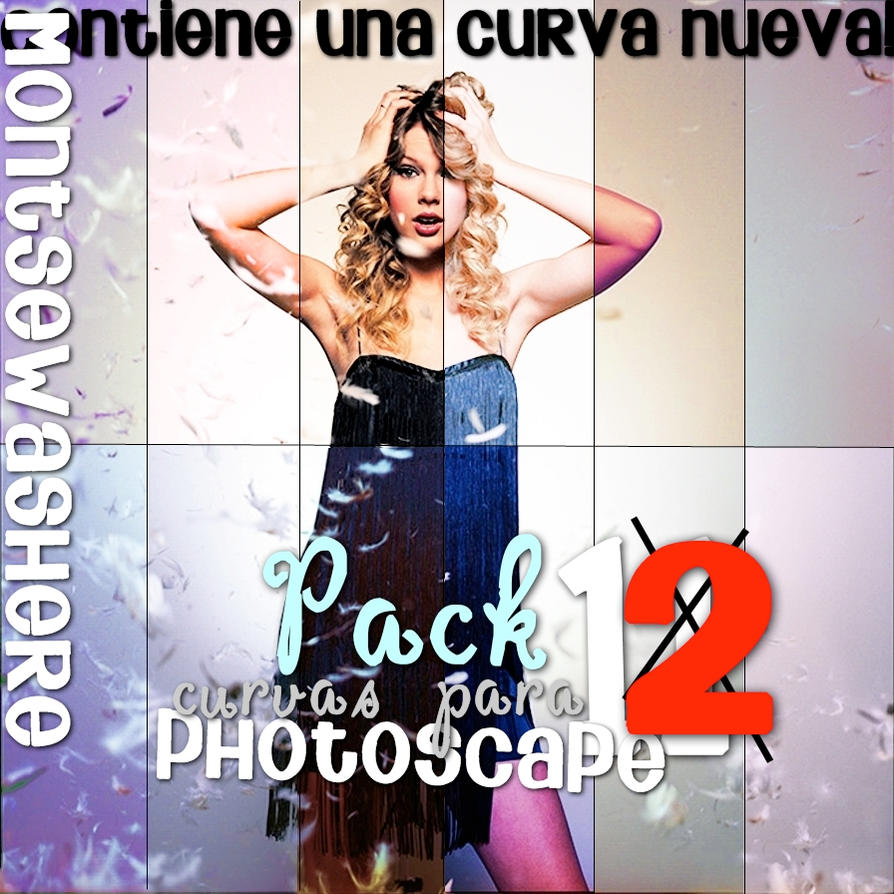
How To Use Curves In Photoscape
CURVES
The curves are:
Curves are file types that work with the channel RGB {red, green and blue} photos. From this quality, the curves are able to create effects for your photos.
You have to download the curves from the site given and they are always in Zip file just unzipped it and keep in a folder
The curves are already installed, now let's learn how to use them.
How to use:
O1. Open your PhotoScape, click "Editor", stay on the ward "Start" and open a photo.
O2. Click "Bright,Color> Color Curve".
O3. A small window will open, click on "Load (curve)" and then another window will appear, open the curves you have installed. Select the curve you want to use, and then click "OK".